TO WELD OR NOT TO WELD....

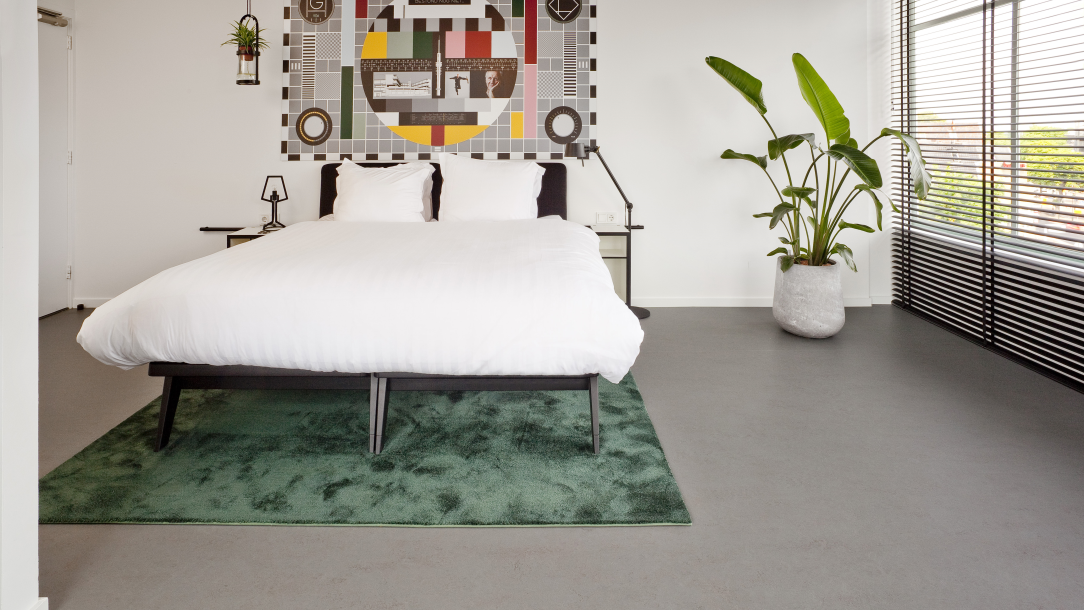
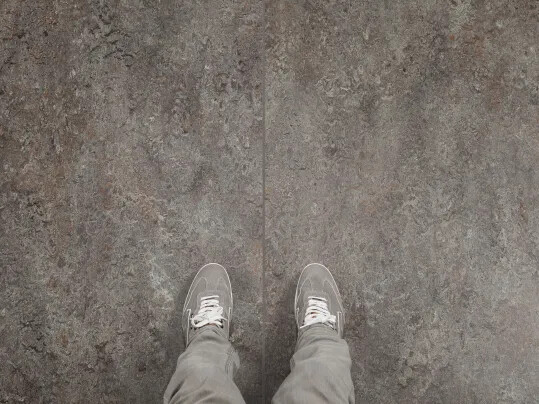
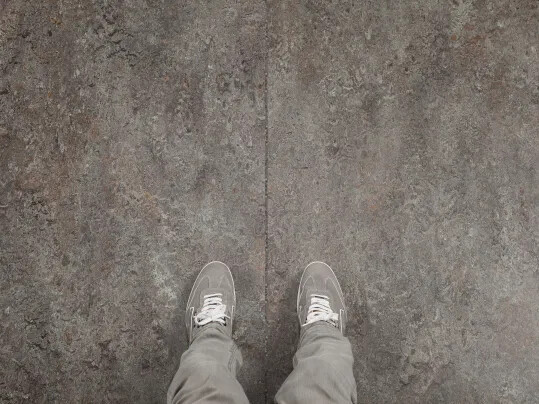
Marmoleum does not shrink over time when properly installed. That means welding, in the majority of cases, is not required. Skilled installers can make perfect joints without using a welding cord.
With a proper Marmoleum installation you will have a water resistant floor – one that can be cleaned with water, even when not welded.
If there is no specific requirement to weld, save yourself the time and money by having less steps and stick to the net fit seam installation.
Marmoleum installation manual
Linoleum page

• Improved aesthetics with no weld lines to disrupt the visual and accent the seams
• Improved environmental performance with substantial reduction in CO2 footprint by eliminating the use of a high wattage heat gun for installation of weld rods.
• Reduced overall installed cost and time
While remaining
• Water resistant
• Bacteriostatic, 3rd party research shows that net fit seams are as hygienic as heat welded sheet vinyl.

Welding could be required or even prescribed in certain situations. Also local laws or regulations could make that you need to make sure you put a welding cord between two sheets.
There are many matching colours in our welding rods both in uni coloured and multi coloured. For design or decorative reasons a non matching colour is chosen so this welding cord is highlighting the floor.
Watch the video HOW TO WELD LINOLEUM

Uni colour welding rod used
Multi colour welding rod used
Marmoleum does not shrink over time when properly installed. That means welding, in the majority of cases, is not required. Skilled installers can make perfect joints without using a welding cord.
With a proper Marmoleum installation you will have a water resistant floor – one that can be cleaned with water, even when not welded.
If there is no specific requirement to weld, save yourself the time and money by having less steps and stick to the net fit seam installation.
Marmoleum installation manual
Linoleum page
• Improved aesthetics with no weld lines to disrupt the visual and accent the seams
• Improved environmental performance with substantial reduction in CO2 footprint by eliminating the use of a high wattage heat gun for installation of weld rods.
• Reduced overall installed cost and time
While remaining
• Water resistant
• Bacteriostatic, 3rd party research shows that net fit seams are as hygienic as heat welded sheet vinyl.
Welding could be required or even prescribed in certain situations. Also local laws or regulations could make that you need to make sure you put a welding cord between two sheets.
There are many matching colours in our welding rods both in uni coloured and multi coloured. For design or decorative reasons a non matching colour is chosen so this welding cord is highlighting the floor.
Watch the video HOW TO WELD LINOLEUM
Uni colour welding rod used
Multi colour welding rod used


.pdf.thumb.webp)
