5 tips for comfortable and trouble-free underfloor heating
1. Take expansion and contraction into account
The temperature changes that occur in floors with underfloor heating mean that they have more expansion and contraction than ‘normal’ floors. This increases the risk of crack formation in the levelling layer and/or screed. Therefore, apply edge strips around the screed and/or before levelling apply 802 Eurostrip Basic along the edges of the floor. This gives floors with underfloor heating sufficient space to expand and contract again. These white PE foam strips measuring 20 mm wide and 5 mm thick are self-adhesive and elastic. They are supplied in 25-metre rolls.

2. Ensure the right coverage
In the case of an underfloor heating system with pipes or hoses, these are installed in the screed. They are connected via a distributor to the central heating boiler, ground pump or heat pump or to district heating. With this system, ensure that the coverage above the pipes or hoses is a minimum of 25 mm. With a thinner layer, less heat is released and this causes problems later in controlling the temperature in the relevant room. In principle, all Eurocol products are suitable for processing in combination with underfloor heating, provided that the processing instructions are followed correctly.

3. Warm up the floor by following the start-up protocoll
Before levelling and/or finishing the floor with floor coverings or tiles, the floor must be warmed up gradually according to the start-up protocol*). Please refer to the installer’s instructions for this. Please note: warming up calcium sulphate or anhydrite floors can be started after 7 days after application, but for sand-cement screeds, you can only start after 28 days. The start-up protocol allows you to check the heated/cooled floor construction and pre-treat or repair any cracks that have formed. In modern underfloor heating systems, in combination with a heat pump, process water at a lower temperature (25°C) is used during commissioning, up to a maximum of 35°C in the use phase. This is a lower temperature than conventional central heating boilers, where the temperature can rise to 45 °C. Because of this low initial temperature, which increases around 2°C per day, going through a heating and cooling protocol in combination with ceramic tiles has no added value and can therefore be omitted.

4. Maintain the correct temperature
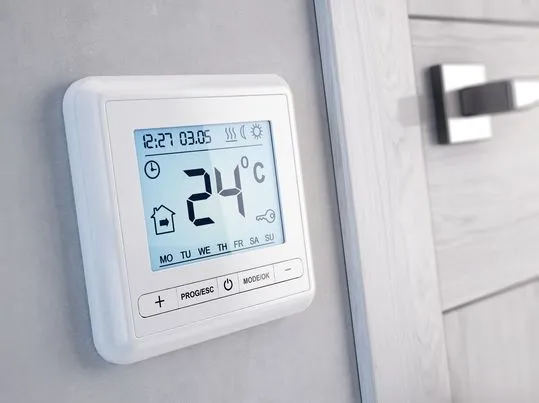
Before you start finishing the floor, ensure that the correct processing conditions are present. An ambient temperature of 18-23°C is ideal. For the underfloor and the material to be processed, this is a minimum of 15°C and a maximum of 20°C. The relative humidity is preferably 40-70%. Therefore, the temperature setting of the underfloor heating must be switched off or set to low at least 24 hours before starting the work. The supply temperature must be set equal to the ambient temperature. Set the room thermostat to 18°C and check that a clock thermostat or night reduction are not set. After finishing the floor with tiles or floor covering, and after sufficient drying, the temperature can be increased gradually. For linoleum, rubber or PVC, ensure that the surface temperature of the floor never exceeds 28°C to avoid damaging the floor and finish.
5. Tiling with electric underfloor heating
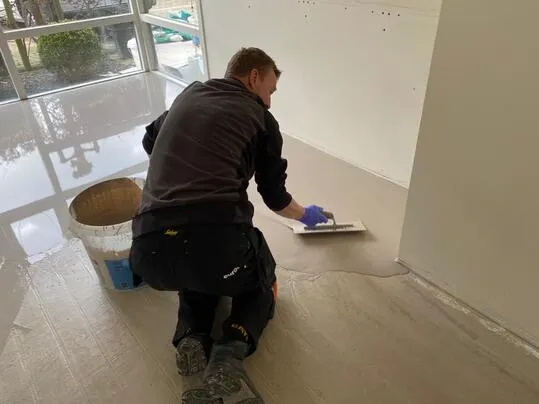
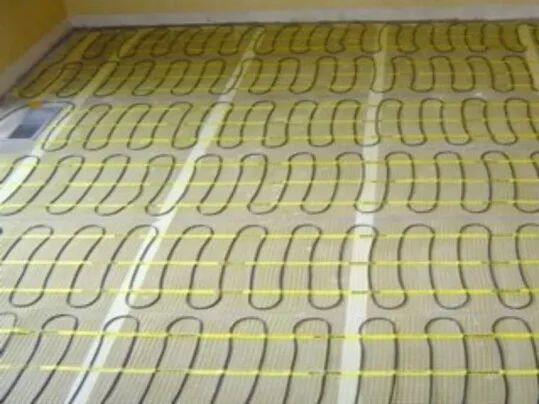
You can easily install electric underfloor heating in cable or mat versions under a tiled floor. The substrate must be sufficiently flat for both. If the substrate is highly absorbent, prime it first with 099 Dispersion primer . Then apply the cables and a levelling layer on top with a thickness of at least 3 mm measured from the highest point. In this way, you create good heat distribution and prevent possible damage due to point loading on the floor. Due to its excellent flowability, 990 Europlan Direct is ideally suited for this. You can also keep the walls free by using 802 Eurostrip Basic. After drying, glue the floor tiles with 705 Watertight Tile Adhesive or 709 Superflex. Then grout them with 706 Euro Grout Special WT or 717 Eurofine WT . Seal the corners and edges with 880 Euroseal Silicone .
Underfloor heating mats with an open structure can be glued directly to the substrate with the tile adhesive. Apply the adhesive with a 6x6 or 8x8 notched trowel and press the mats into the wet adhesive layer. Smooth out any bulging adhesive to anchor the mats well. If the heating mats are equipped with two layers of foil, follow the processing instructions of the relevant manufacturer.

*) The standards for installing floors with underfloor heating are described in NEN 2741:2001/A1:2008.nl or NEN 2742:2007.nl. The Technisch Bureau Afbouw (TBA) also provides clear information, for example in BA guideline 2.1 Heating and cooling protocol for underfloor heating in calcium sulphate or cement-based screeds, or BA guideline 2.2 Guideline for installing bonding screeds with underfloor heating.
Do you still have questions? Then consult our technical advice department or your technical commercial advisor.
Go back to tips .